Showing posts with label DIY. Show all posts

Monday, March 28, 2011

DIY Beauty | Calming Facial Mask


What you'll need:
½ cup of plain yogurt
2 tablespoons Aloe Vera gel or juice
1 tablespoon raw honey
½ peeled cucumber
A few drops of chamomile oil

Mix well and leave on face for 10-15 minutes.

About the ingredients:
Yogurt~  has antibacterial properties make it a useful, degerming cleanser, and its lactic-acid content soothes irritation, clarifies the pores and softens the skin. It also has probiotics that are helpful with treating skin conditions like acne and eczema.
Aloe Vera~ has a great soothing effect to the skin. Heals sunburns, insect bites etc; it also gives the skin a healthy glow!
Raw Honey~ Heals and moisturizes dry patches of skin and inflamed areas. Raw honey has strong antibacterial properties that can act as a protective barrier on broken skin. Raw honey is also purported to stimulate skin regeneration.
Cucumber~ reduce puffy eyes, improve complexion and tighten open pores.
Chamomile Oil~ softens the skin and has a calming effect on the mind mind and eases fear, anxiety, anger, worries and tension during times of physical and emotional stress.

Wednesday, February 23, 2011

DIY Beauty | Nightly Lip Exfoliate


After looking around for a great lip scrub and spending too much money on products that didn't work well, I experimented until I came up with this recipe. The best thing is that the ingredients are ones that are already in the kitchen! This scrub makes your lips silky smooth.

What you'll need: 
2 tbsp Sugar
2 tsp Sweet Almond Oil
2 tsp Grapeseed Oil
2 tsp Vitamin E Oil
2 drops Peppermint Essential Oil

Mix all ingredients together until it forms a thick paste, transfer mixture to a container. Use nightly before going to bed. When you wake up, your lips will feel heavenly.

About the ingredients: 
Sweet Almond Oil; acts as an emollient to keep your lips soft and smooth all day
Grapeseed Oil; hydrates, and delivers skin loving nutrients to your lips.
Meadowfoam Oil; is choked full of moisturizing essential fatty acids
Vitamin E Oil; smooths, softens and protects lips from harsh environmental element.
Sugar; acts as a natural humectant, drawing the moisturizing properties of the oils into your skin, sugar also gently exfoliates your skin, leaving your lips soft and smooth.

*Ingredients can be found at most local heath food stores or supermarkets. 

Photo source

Thursday, January 20, 2011

DIY Beauty | Sweet Almond Oil and Honey Facial Mask


Honey is my secret to bright, glowing skin. I use it in conjunction with sugar to exfoliate a couple times a month. Even though I have oily skin, I still experience dry patches during the winter months. I decided to whip up a mask using some of my favorite ingredients to combat my winter skin issues. The outcome.... soft, moisturized, glowing skin.

What you'll need
2 tbsp of Raw Honey
2 tbsp of Sweet Almond Oil
5 drops of Rose Essential Oil
2 drops of Vitamin E Oil (I buy the soft gel pill form and cut it open.)

Mix well. Massage onto clean face and neck with fingertips. Relax for 15 minutes, then rinse off with lukewarm water. Gently pat dry to reveal a fresh, soft complexion.

About the ingredients:
Raw Honey~ Heals and moisturizes dry patches of skin and inflamed areas. Raw honey has strong antibacterial properties that can act as a protective barrier on broken skin. Raw honey is also purported to stimulate skin regeneration.

Sweet Almond Oil~ Acts as an emollient to keep your lips soft and smooth all day. Sweet Almond Oil is easily absorbed making it a popular oil used in spas. It restores the skin's pH balance by preserving moisture lending it a glow.

Rose Essential Oil~ Acts a skin toner. It tightens skin pores making them decrease in size over time. It smells wonderful and is said to help combat stress and depression as well.

Vitamin E Oil~ Acts an an antioxidant which prevents the formation of free radicals on the skin and protects it from any kind of damage. It also has anti-inflammatory properties. It is also said to lighten acne scars over time. 

*Ingredients can be found at most local heath food stores or supermarkets.

Tuesday, January 04, 2011

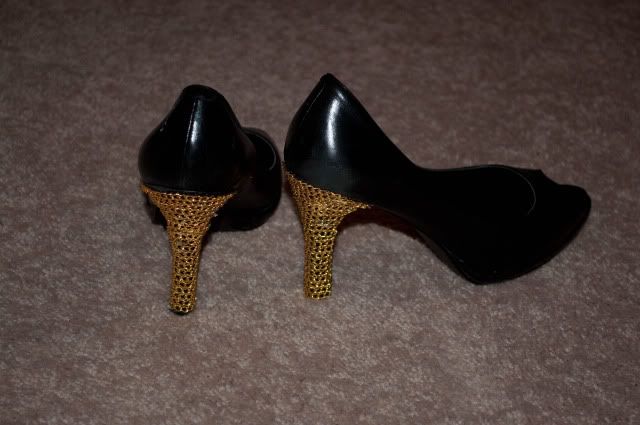
DIY | The Embellished Heel

Photobucket

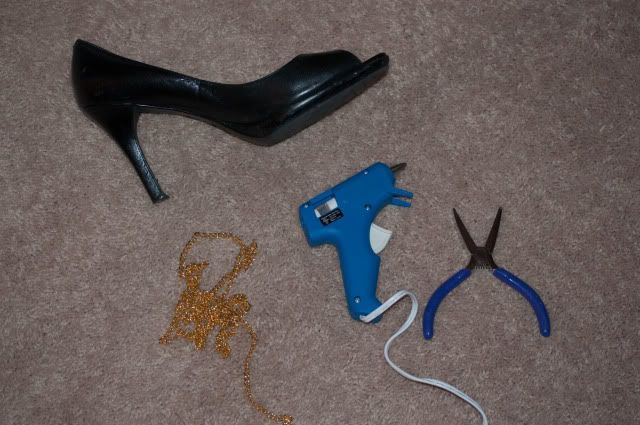
What you'll need:
Photobucket
  • a pair of heels
  • necklace
  • glue gun
  • wire cutters
Photobucket

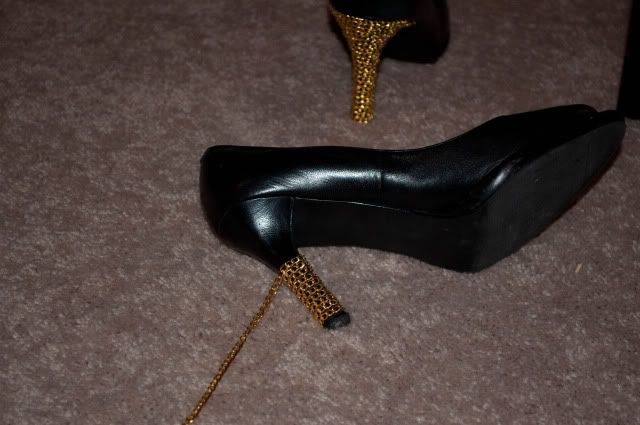
Glue the end of the necklace at the bottom of the heel. Wrap the length of the necklace around the heel, use small dabs of glue to keep it in place along the way.

Photobucket

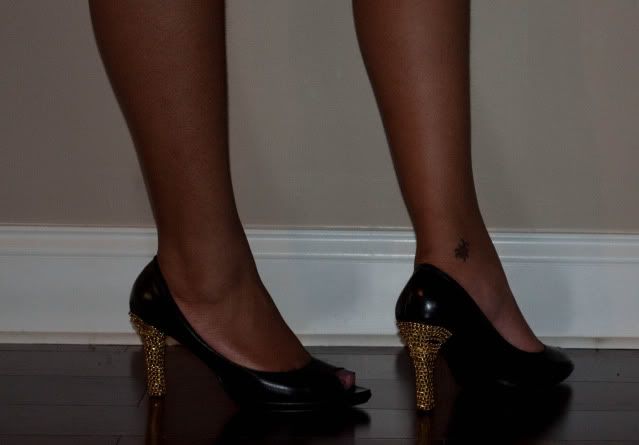
All finished!

Thursday, December 09, 2010

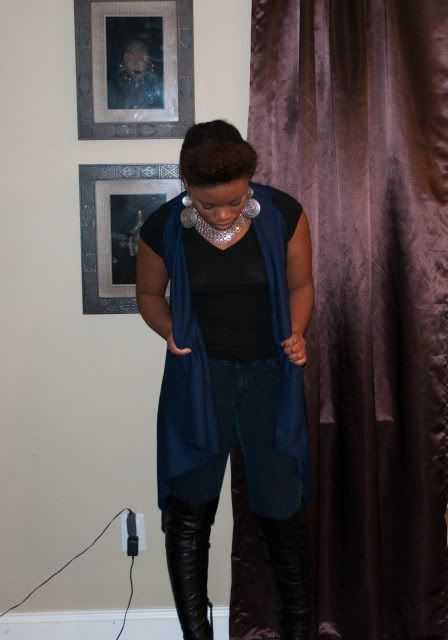
DIY | Super Easy Asymmetrical Vest

Photobucket

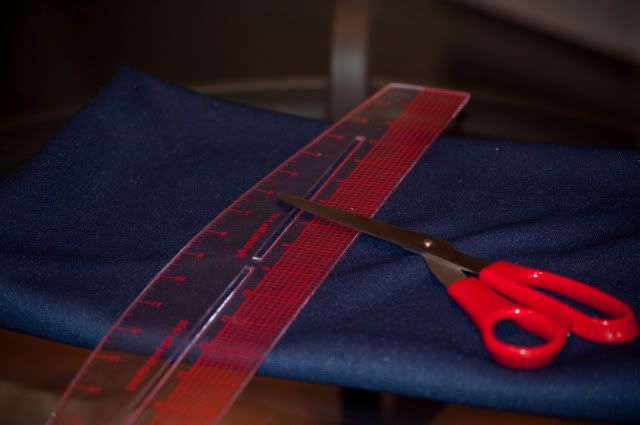
What You'll Need:

Photobucket

One yard of fabric (I used Jersey), Scissors, Ruler

Photobucket

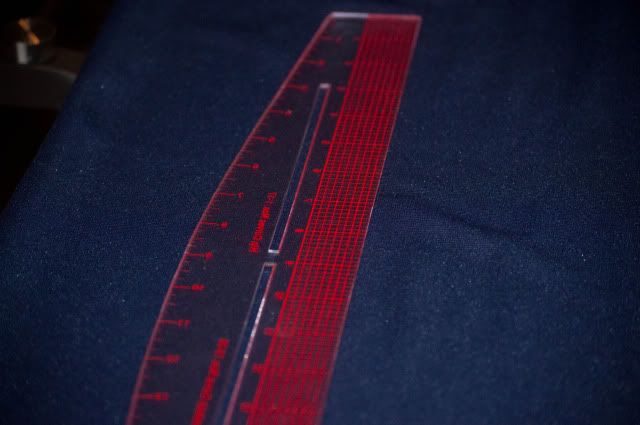
Fold the fabric in half. From the crease, measure about eight inches in and eight inches down. Where the two points meet cut a 10 inch vertical slit downward.

Photobucket

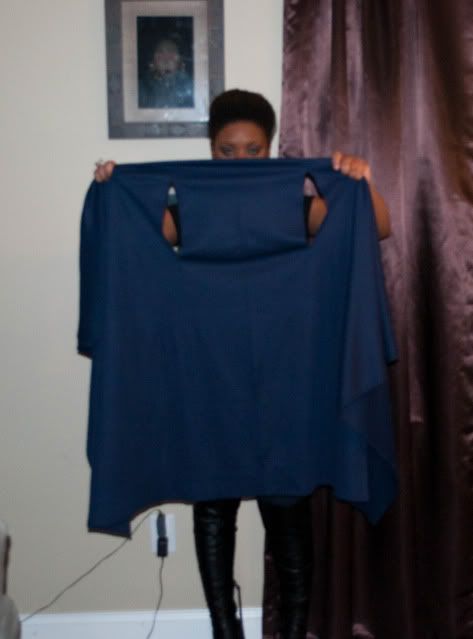
Open the fabric.

Photobucket

That's it!

Wednesday, November 03, 2010

DIY | Chic Apron

Inspiration:

How cute is this Haute Hostess Apron? Perfect for a holiday dinner party! These aprons were featured on Oprah about a week ago and are retailing for about $300. I will show you how to make one very similar for much cheaper.

Photobucket
What you'll need:
Sewing Machine
Apron
1-2 yards of fabric (depending on how full you want it)
Needle
Thread
Pins
Scissors
Ruler

Photobucket
My apron has pockets on the front and was too long so I cut the apron right below the pockets and I will use the side without the pockets.

Photobucket
Using the piece of the apron that I cut off as a guide, I cut the first piece of fabric the same width. I added a half inch for the bottom seam.
To make the ruffle effect the fabric has to be longer than the waist line (in this case the bottom of the apron). I went 30 inches {wish I would have done more so it could be fuller}, you can go as long as you want to make it as full as you want. I think doubling the length would be perfect.

Photobucket
Cut a second piece of fabric the same length as the first but half the width. Be sure to add in an additional half length for the seam.

Photobucket
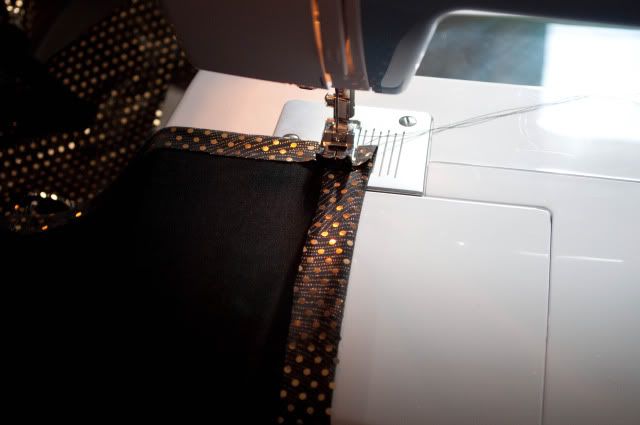
Sew your seams!

Photobucket
With a needle and thread, stitch the shorter fabric on top of the wider fabric (just in and out until the end of the fabric).

Photobucket
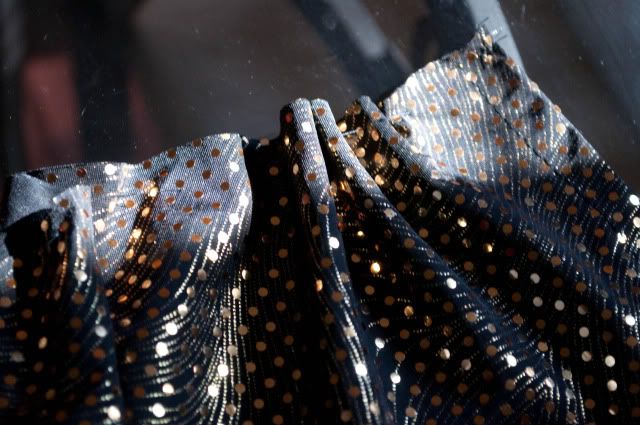
Begin to pull the fabric so it ruffles.

Photobucket
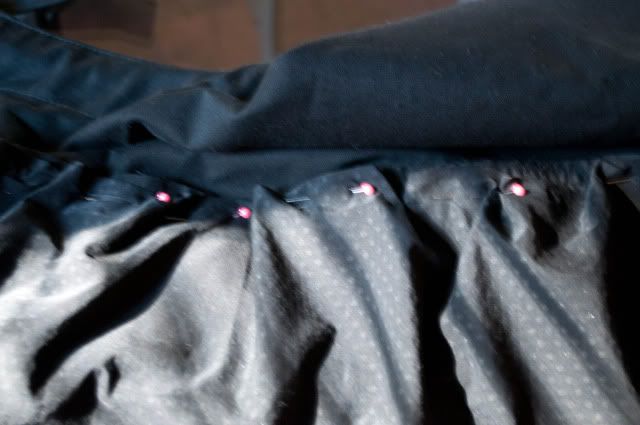
Once you have the ruffles to your liking and its the same length as the apron, pin the skirt to the apron. Pin the back of the skirt to the inside of the apron so that when you turn it on the front all the seams will be hidden. Get it? Sew the skirt and apron together.

Photobucket

Voila!

Monday, October 25, 2010

DIY Braided Sweater

Inspiration:


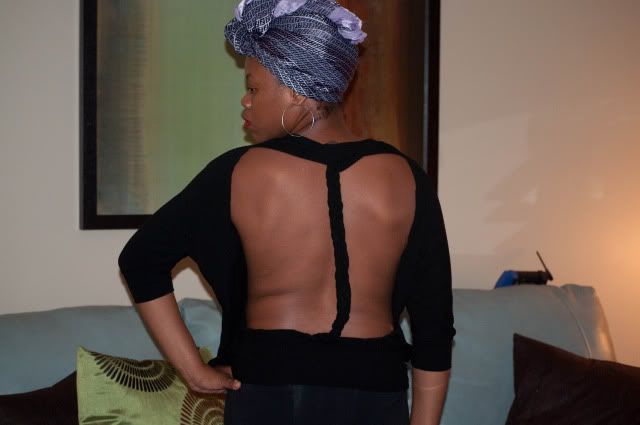
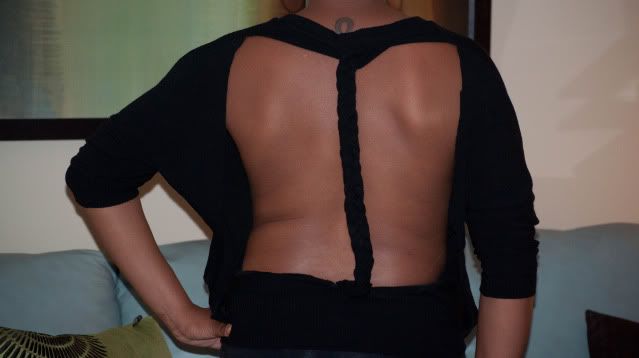
This Ksubi Black Braid Sweater is retailing for $198. Below I'll show you how to make it for cheap!

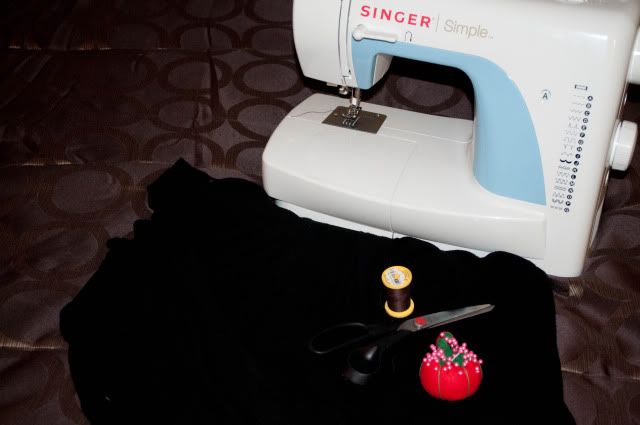
What you'll need:

Sweater (mine is from Forever 21. I think I paid about $8-$10 for it)
Scissors
Sewing Machine (a needle and thread will do)
Thread
Pins

Photobucket

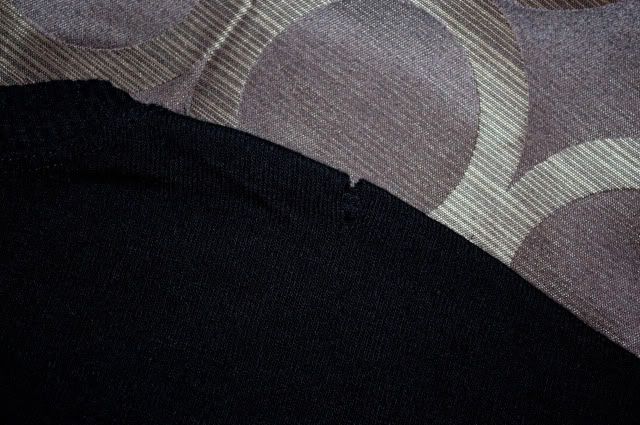
1). Make a small slit about half way between the collar and shoulder on both sides.

Photobucket

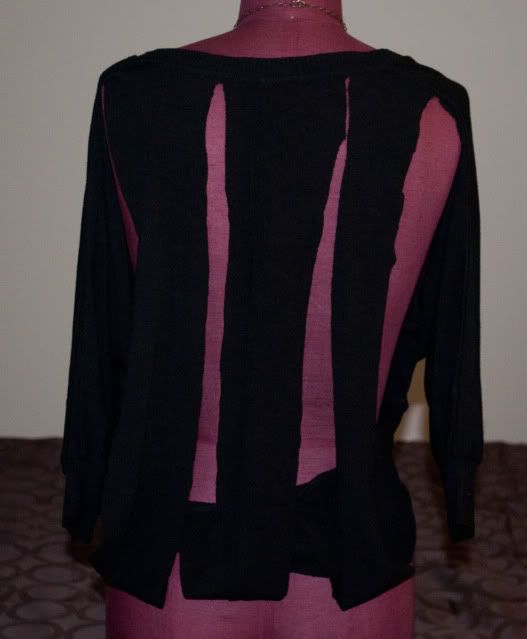
2). Continue the slit all the way down to the waist. Then make two slits in between the two original ones, making three separate sections. Snip the three sections at the end detaching it from the waist of the sweater.

Photobucket

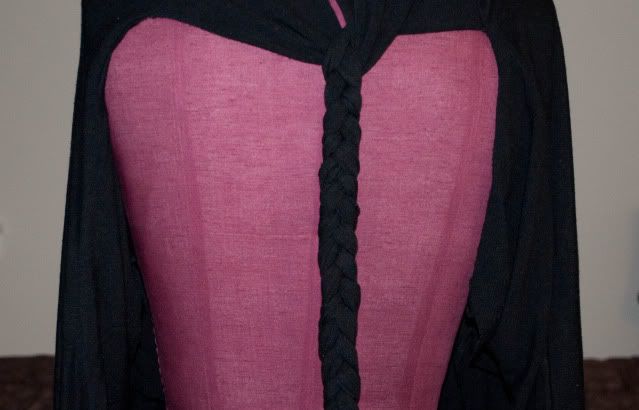
3). Braid the three sections. Pin the braid to the waist.

Photobucket

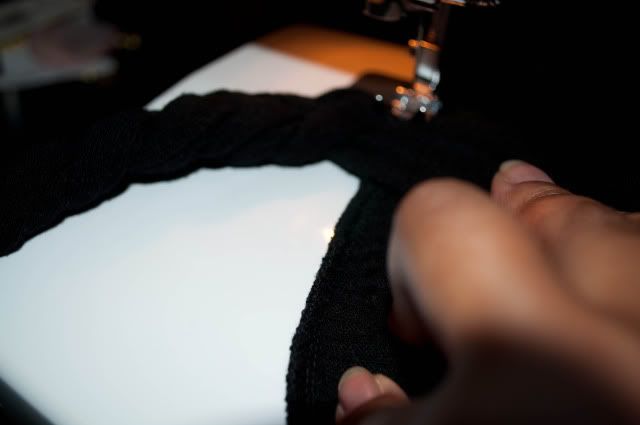
4). Connect the braid back to the waistline of the sweater with a sewing machine or needle and thread.

Photobucket

Final Outcome:

Photobucket

Photobucket

**If you use this DIY, please back link!

LinkWithin

Related Posts with Thumbnails